From Zero to Authenticated: Setting Up Clerk in Next.js

User authentication is often difficult to implement and tricky to manage. The challenges typically include handling secure password storage, integrating third-party login services, ensuring consistent user experience across different platforms, and managing session security. Clerk handle those issues and offers a dead-simple setup for authentication and user management. In this guide, I’ll show you if it really is that simple to set up with a new Next.js project.
1. Installing NextJS
Let’s install the latest version of NextJS. At the time of this post, it is v14.2.1. Make sure you choose to use the App Router if you want to follow this tutorial.
npx create-next-app@latest2. Installing Clerk
Since we’re using NextJS, let’s head to the NextJS setup section of the Clerk Documentation. In this demo, I’m using pnpm.
pnpm add @clerk/nextjs3. Setting Up .env.local
If you haven’t already, create a Clerk account or log into your Clerk account, then add a new project.
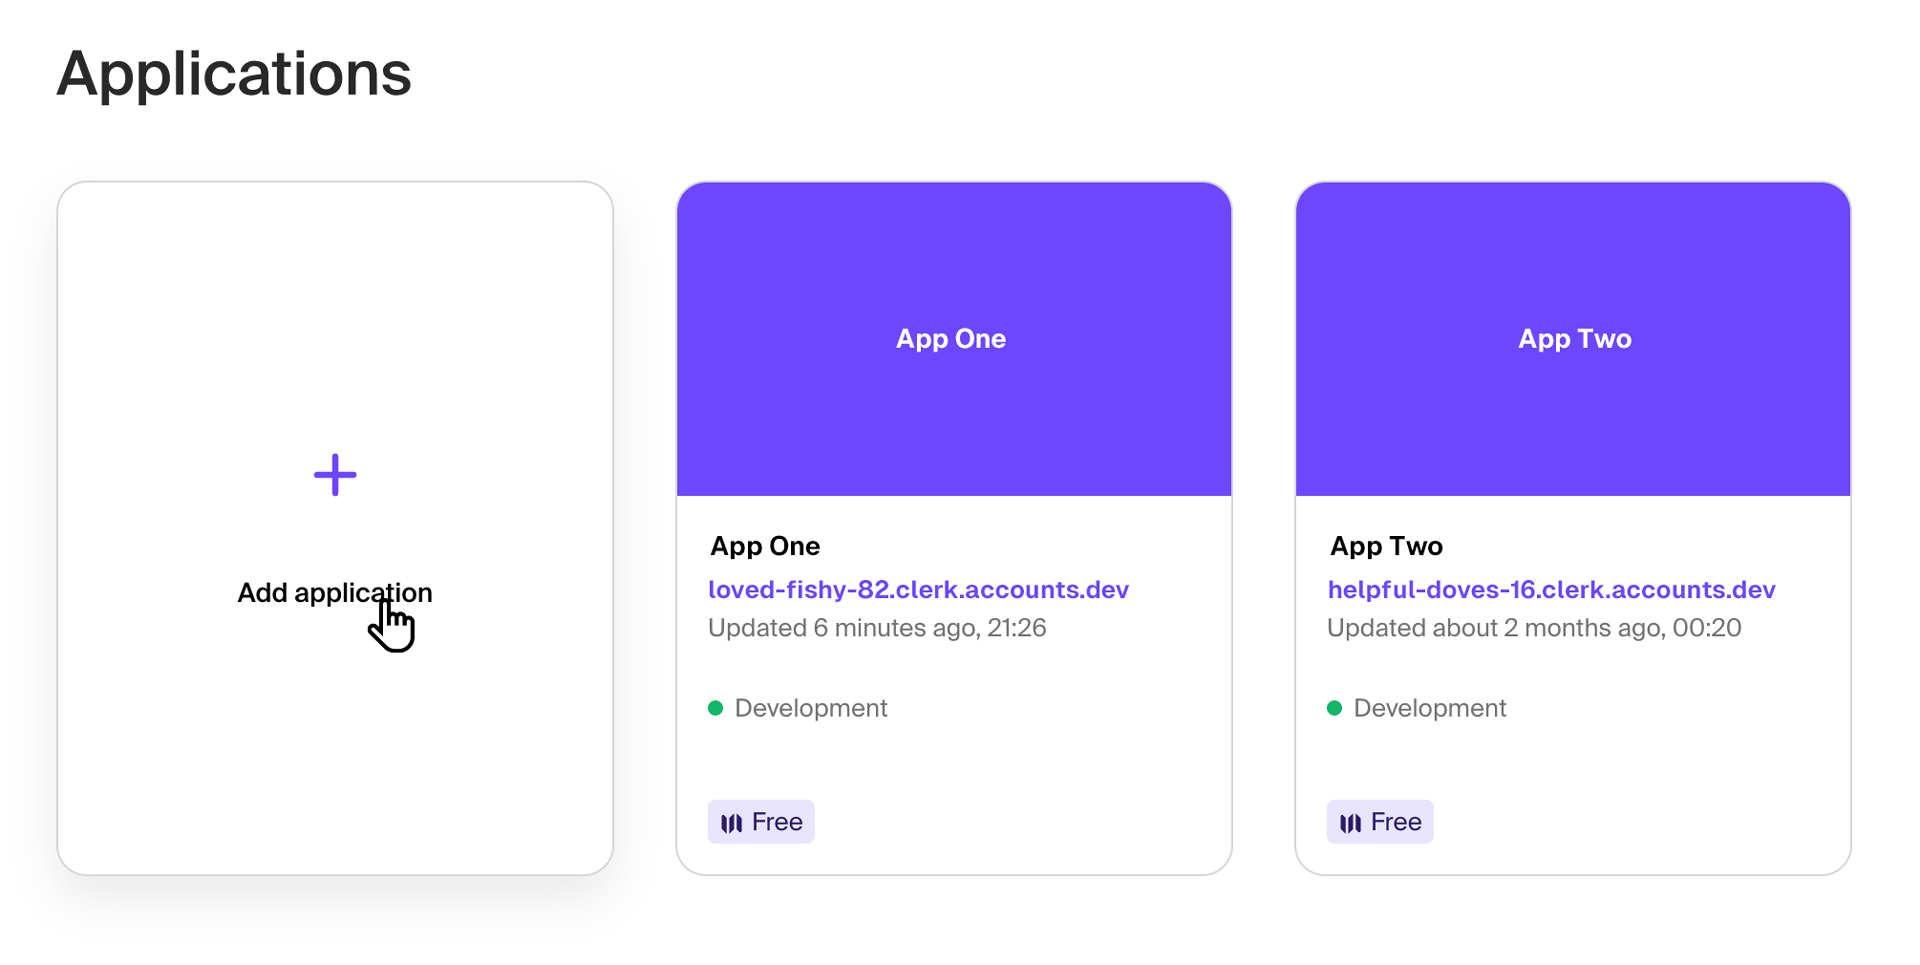
At the root directory, create an .env.local file and add the following variables. You can find these values under Developers > API Keys.
# .env.local
NEXT_PUBLIC_CLERK_PUBLISHABLE_KEY=pk_test_•••••••••••••
CLERK_SECRET_KEY=sk_test_•••••••••••••4. Adding the Clerk Provider
Now that the app has the credentials to connect to Clerk, we have to wrap our <html> element with <ClerkProvider>. The <ClerkProvider> component provides active session and user context to Clerk’s hooks and other components.
// layout.tsx
import { ClerkProvider } from "@clerk/nextjs";
import "./globals.css";

export default function RootLayout({
  children,
}: {
  children: React.ReactNode,
}) {
  return (
    <ClerkProvider>
      <html lang="en">
        <body>{children}</body>
      </html>
    </ClerkProvider>
  );
}
5. Adding authentication
Clerk makes it easy to specify which pages are public and which requires the user to authenticate to access. Simply modify your middleware.ts file to export Clerk’s authMiddleware helper. The helper enables authentication and blocks access for visitors that are not signed in on any page the middleware is running on.
// middleware.ts
import { authMiddleware } from "@clerk/nextjs";

// See https://clerk.com/docs/references/nextjs/auth-middleware
// for more information about configuring your Middleware
export default authMiddleware({
  // Allow signed out users to access the specified routes:
  // publicRoutes: ['/anyone-can-visit-this-route'],
});

export const config = {
  matcher: [
    // Exclude files with a "." followed by an extension, which are typically static files.
    // Exclude files in the _next directory, which are Next.js internals.
    "/((?!.+\\.[\\w]+$|_next).*)",
    // Re-include any files in the api or trpc folders that might have an extension
    "/(api|trpc)(.*)",
  ],
};
At this point, if you run your Next.js site, the middleware will redirect you to your Sign In page. If you look at middleware.ts, you will see that there are no public route specified and therefore, your whole site is blocked for any visitor not signed in. Click on Sign Up to create a user account and sign in. You should be redirected to site.
You have successfully setup authentication with Clerk JS 🎉.

Bonus 🧁
Yes, it was that easy to setup authentication. Let’s go a further and make this site a little more useful. This is what we’ll do:
- Make the home page public
- Create custom “Login” and “Sign Up” page
- Create a simple header to manage signing in and out
- Create an “admin” page which requires login
Public Home Page
This one is easy. All we need to do is update publicRoutes in middleware.ts to include ’/‘. With that change, our only page in this Next.js is publicly accessible. While we are changing the publicRoutes, we should add our “Login” and “Sign Up” routes.
// middleware.ts
import { authMiddleware } from "@clerk/nextjs";

// See https://clerk.com/docs/references/nextjs/auth-middleware
// for more information about configuring your Middleware
export default authMiddleware({
  // Allow signed out users to access the specified routes:
  publicRoutes: ["/", "/login", "/signup"], // 👈 UPDATE THIS LINE
});

/* Your existing code */
/* ... */
Login and Sign Up Pages
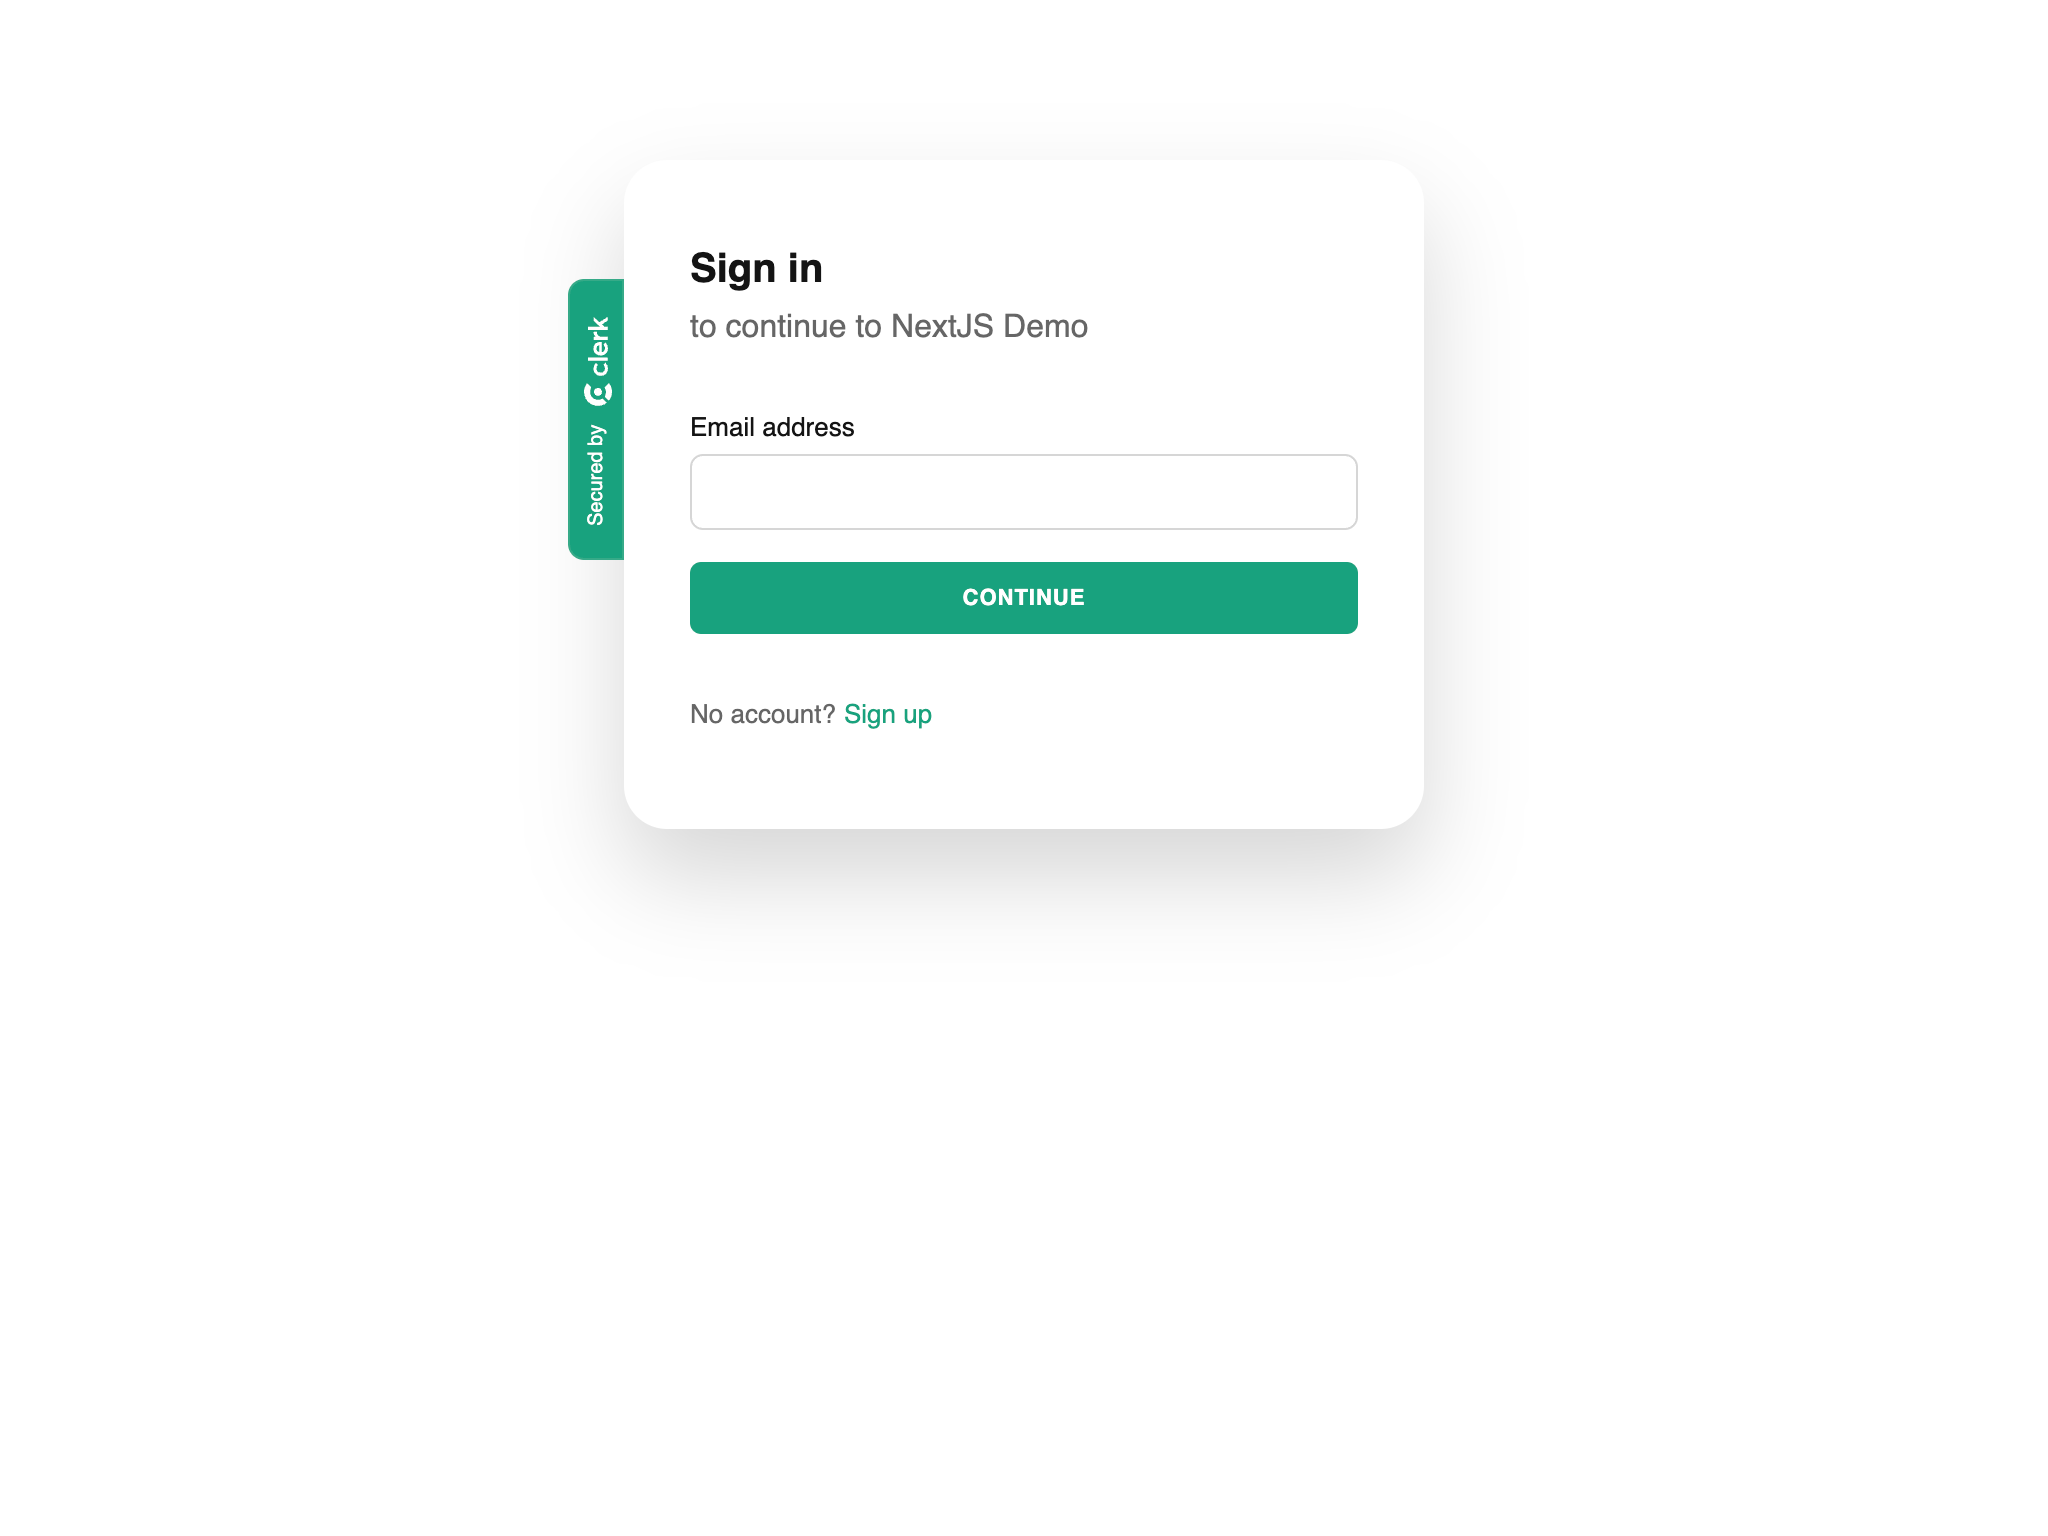
Getting a baic login page is simple with Clerk. Clerk comes with pre-built <SignIn/> and <SignUp/> components that you can drop in.
To make our two new pages in Next.js, we create new folders (“login” and “signup”) in the src/app folder and page.tsx files within them. You can name your route “signin” if you want. I prefer “login” in the apps that I create.
All I’m going to do is center the Clerk components on the page.
// src/app/login/page.tsx
import { SignIn } from "@clerk/nextjs";

function Page() {
  return (
    <main className="flex min-h-screen flex-col items-center justify-center p-24">
      <SignIn afterSignInUrl="/admin" signUpUrl="/signup" />
    </main>
  );
}

export default Page;
// src/app/signup/page.tsx
import { SignUp } from "@clerk/nextjs";
function Page() {
return (
<main className="flex min-h-screen flex-col items-center justify-center p-24">
<SignUp afterSignUpUrl="/admin" signInUrl="/login" />
</main>
);
}
export default Page;Make note, that I have set “afterSignInUrl” to /admin. This reroutes the user to the admin page after logging in or signing up.
Header
All we’re going to have in the <Header/> component is to show the “Login” and “Signup” buttons if the user is not logged in and Clerk’s pre-built <UserButton/> when they are logged in. I’m using a couple of Clerk’s React hooks (“useUser” and “useSignIn”), to make the rendering the correct elements smoother.
// src/components/Header.tsx
"use client";

import { UserButton, useSignIn } from "@clerk/nextjs";
import { useUser } from "@clerk/nextjs";
import Link from "next/link";

function Header() {
  const { user } = useUser();
  const { isLoaded } = useSignIn();

  if (isLoaded === false) return;

  return (
    <div className="fixed top-0 left-0 z-10 flex items-center justify-end w-full px-4 py-10 font-mono text-sm md:px-10">
      <div className="flex gap-4">
        {user ? (
          <UserButton afterSignOutUrl="/" />
        ) : (
          <>
            <Link href="/signup" passHref>
              <button className="p-2 px-4 border rounded-lg border-slate-800 text-slate-800 dark:border-slate-100 dark:text-slate-100">
                Sign Up
              </button>
            </Link>
            <Link href="/login" passHref>
              <button className="p-2 px-4 text-white rounded-lg dark:bg-slate-100 dark:text-black bg-slate-800 ">
                Login
              </button>
            </Link>
          </>
        )}
      </div>
    </div>
  );
}

export default Header;
Admin Page
If you recall, in our middleware.ts file, we only defined ”/”, “/login”, and “/signup” as the “publicRoutes”. This means any new routes we create will only be visible for logged in users. So let’s create a new file for our admin page at src/app/admin/page.tsx.
import Image from "next/image";
import Header from "@/components/Header";
import Link from "next/link";

function Page() {
  return (
    <main className="flex flex-col items-center justify-center min-h-screen gap-8 p-8 md:p-24">
      <Header />
      <Image src="/dwight-secret.gif" alt="Secret!" width={480} height={270} />
      <h1 className="text-3xl font-black md:text-7xl text-rose-600">
        This is a private page!
      </h1>
      <Link href="/" passHref>
        <button className="p-2 px-4 text-white rounded-lg dark:bg-slate-100 dark:text-black bg-slate-800 ">
          Go Home
        </button>
      </Link>
    </main>
  );
}

export default Page;
Now you have a page that is only viewable to users that are logged in.

What’s Next?
You now have a good starter to build your next app that needs authentication. Since Clerk uses middleware to handle which routes are public, you can build out your Next.js app and not worry about creating page specific checks for user authentication. It all happens before the page is even rendered for the user.
Be sure to check out the Clerk Docs to see what else it offers you. Be aware that while you gain ease of setup, you sacrifice control over your user data. If you want full control over the authentication, you might want to consider using Auth.js instead. It is an open-source alternative that requires more effort to set up. I will write a post on how to setup Auth.js in the future.
Resources
- GitHub Repo 👨🏻💻
- Clerk Docs 📗
Sprouts 🌱 are early ideas that might need revision and attention.
Saplings 🌿 are a step above—not fully developed but more fleshed out than sprouts.
Evergreens 🌲 are complete and likely won't be updated anymore.
Read more about my digital garden.